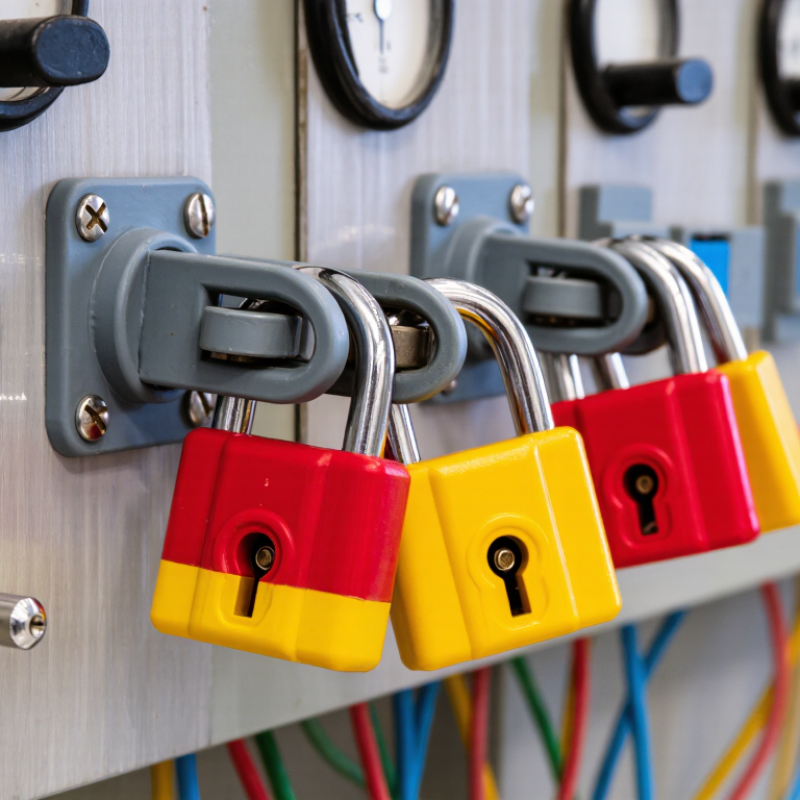
| 1 | Definition | A lockout padlock is a personal safety lock used to keep an energy-isolating device in a safe, non-operating position during servicing, maintenance, or repair. | Use the padlock as part of a documented lockout/tagout procedure rather than as a general-purpose security lock. |
| 2 | How It Works | The lock prevents the operating handle, switch, valve, breaker, or other isolation point from being moved back to the energy-connecting position. | Install the lock only after the correct energy-isolation point has been identified and placed in the safe position. |
| 3 | Typical Energy Sources | Lockout procedures may address electrical, mechanical, hydraulic, pneumatic, chemical, thermal, gravitational, and stored or residual energy. | Identify every energy source connected to the equipment, including secondary or stored energy that may remain after shutdown. |
| 4 | Recognizable Design | Safety lockout padlocks are commonly designed for clear identification, with a durable body, a shackle, and a key-operated locking mechanism. Many workplaces use a consistent color or identification label for personal safety locks. | Mark the lock with the authorized worker’s name, identification number, or other approved identifier. Do not rely on color alone. |
| 5 | Before Shutdown | Authorized workers should understand the equipment, its energy sources, the isolation points, and the applicable lockout procedure before starting work. | Review the procedure, notify affected workers, and obtain the correct lock, tag, and any required lockout device. |
| 6 | Step 1: Notify | Affected employees must be informed that the equipment will be shut down and locked out. | Explain the reason for the shutdown, the equipment involved, and the expected duration of the work. |
| 7 | Step 2: Shut Down | The equipment is stopped using its normal operating controls before the energy-isolating devices are operated. | Follow the established shutdown sequence and keep people clear of moving parts or other hazards. |
| 8 | Step 3: Isolate Energy | Energy-isolating devices are placed in the required safe position. A control button, selector switch, or software command alone is generally not an energy-isolating device. | Open, close, disconnect, block, or otherwise isolate each identified energy source as specified by the procedure. |
| 9 | Step 4: Apply the Lock | The lockout padlock is attached to the energy-isolating device, often through a compatible hasp, valve cover, breaker lockout, or other lockout attachment. | Make sure the lock is fully closed, secured, and cannot be removed without the key or an approved removal process. |
| 10 | Step 5: Attach the Tag | A warning tag communicates who applied the lock, why it was applied, and when it was applied. A tag provides information but does not provide the same physical restraint as a lock. | Attach a legible tag directly with the lock or in the location required by the site procedure. |
| 11 | Step 6: Release Stored Energy | Residual or stored energy may remain after isolation. It can include pressure, electrical charge, elevated components, flywheel motion, heat, or tension. | Discharge, vent, drain, block, restrain, cool, or otherwise control stored energy. Confirm that no hazardous energy can reaccumulate. |
| 12 | Step 7: Verify Isolation | Verification confirms that the equipment cannot start or operate and that hazardous energy has been effectively isolated. | Check the work area, attempt a start using normal controls when safe, and use suitable testing methods for electrical or other energy sources. Return controls to the off position after testing. |
| 13 | Step 8: Perform the Work | Work begins only after isolation and verification are complete. | Keep the personal lock and tag in place for the entire period the worker is exposed to the hazard. |
| 14 | Step 9: Remove the Lock | Before re-energizing, tools, parts, and personnel must be accounted for, and guards or protective devices must be restored as required. | Each worker normally removes their own personal lock. Notify affected employees before the equipment is returned to service. |
| 15 | Personal Control | A personal lock represents control over the worker’s exposure to hazardous energy and should not be loaned or shared. | Maintain control of the key. Follow the employer’s documented process for an exceptional lock-removal situation. |
| 16 | Group Lockout | When several workers are involved, each exposed worker should have a personal lock or use an approved group lockout system that provides equivalent individual protection. | Use a group hasp, lockbox, or equivalent method so that the equipment cannot be re-energized while any protected worker’s lock remains in place. |
| 17 | Selection Criteria | Important factors include compatibility with the lockout device, resistance to the workplace environment, key control, identification, shackle clearance, and ease of use with gloves. | Confirm that the lock physically fits the isolation device and remains reliable under expected moisture, dust, chemicals, temperature, and impact conditions. |
| 18 | Final Safety Check | Correct application requires notification, shutdown, isolation, lock and tag placement, stored-energy control, verification, and controlled removal. | Never rely on the padlock alone. Follow the site-specific energy-control procedure and applicable workplace safety requirements. |