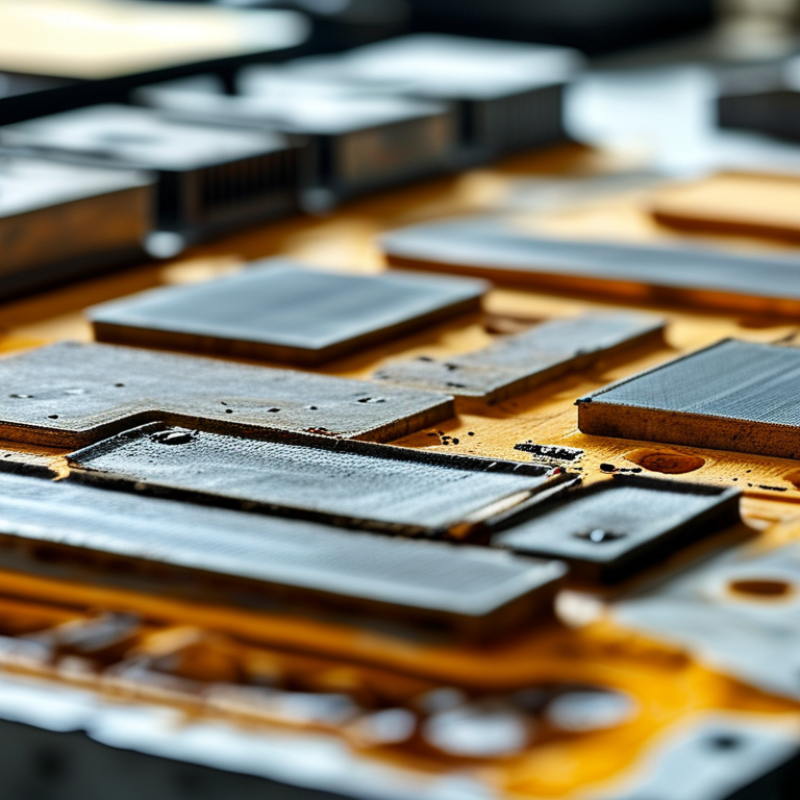
Thermal putty can bridge uneven gaps between chips, heatsinks, and memory modules. Its performance depends on thickness, pressure, and surface contact.
Before choosing among seven putty options, inspect the gap carefully. A digital caliper helps, but it is not always necessary. Measure several points, because metal surfaces rarely align perfectly.
I once trusted a single measurement and applied too little material. The component later showed unstable temperatures.
Test the putty under normal workload, not only at idle. Record room temperature, fan speed, power limits, and peak temperatures. Use the same test duration each time.
A difference of two or three degrees may come from airflow, not the putty. Check the imprint after removal. A clear, even contact pattern indicates suitable compression. Dry edges, untouched areas, or excessive squeeze-out suggest poor thickness or mounting pressure.
Maintenance is simple but important. Check for hardening, oil separation, cracking, or dust after extended use. Replace the material when contact becomes uneven or temperatures rise without another hardware change.
Clean both surfaces with a suitable electronics-safe solvent, then let them dry completely. Do not mix old and new putty. That shortcut can create inconsistent thermal paths.
Tips: Wear clean gloves and keep fibers away from the surfaces. Cut power before opening equipment. Apply enough putty to fill the gap, but avoid covering connectors. Recheck screws in a cross pattern. I still prefer written temperature logs; memory is unreliable.